Canning Cherries at Home
Canning Cherries at home is a great way to preserve the harvest for use year-round. Whether you use the canned cherries for pies, cakes, muffins, coffee cakes, bars, cobblers, crisps, or even toppings for cheesecakes or ice cream, you’ll be thankful that you did the work now to reap the benefits later.
What are tart or sour cherries?
The cherries I use in this recipe are the tart or sour variety. Tart cherries are different from the sweet varieties in that they’re more sour than sweet, which makes them a great addition to desserts. The tartness prevents the cherries from becoming bland as they’re baked, and the pop of flavor is a welcome addition to balance the sweetness of desserts. Tart cherries are also the cherry of choice for pies.
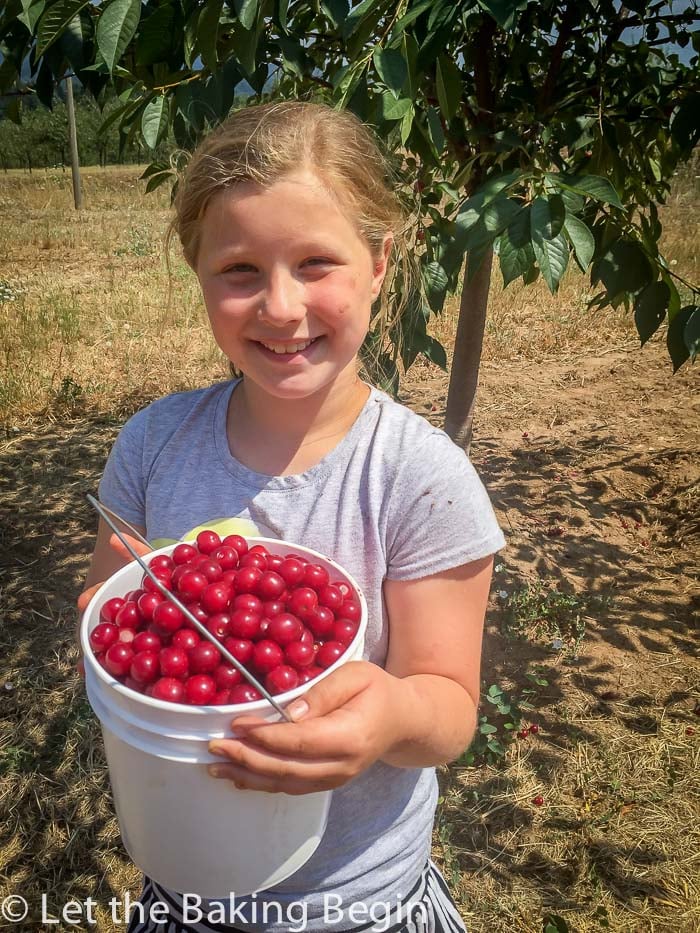
If you’re lucky enough to grow tart cherries in your orchard or to pick them from your local cherry grower, I hope you use this recipe to preserve the amount you can not eat fresh.

Best Canned Cherries
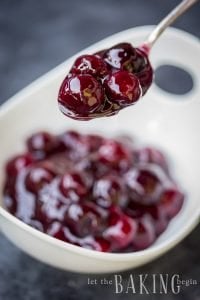
You can preserve tart cherries in different ways, such as canning in water, light or heavy syrup, or sugar. The best way of canning cherries for later use in desserts is to can them in their own juice. This keeps their flavor strong, and the juice can be made into a delicious sauce.
You only need two ingredients: cherries and sugar. The sugar draws out the juice needed to can the cherries. Since the cherries are naturally tart, they don’t need extra acidity to keep them safe for canning using the water bath method.
Since canned tart cherries are mostly used in dessert recipes, the best way to preserve them is to can them in their juice. This keeps their flavor concentrated instead of being diluted with extra water. The drawn-out juices can create the most delicious sauce if needed (think cheesecake topping).
Canning tart cherries requires only two ingredients: cherries and sugar. The sugar draws out the juice used to can the cherries. Since the cherries are naturally tart, their pH is low enough not to need extra acidity to keep them safe for canning.
Do cherries need to be pitted before canning?
Cherries can be canned, pitted, or unpitted. But if you pit them now, they’ll be ready to use right out of the jar for any of your desserts. For that reason, I prefer pitting them before canning.
What
Their tart-sweet taste makes them great in coffee cakes, muffins, cherry vareniki/pierogies as topping for cheesecakes, in cakes (like this Honeycomb Cake with Dulce de Leche Buttercream or this Honeycomb Cake with Chantilly Cream, or even this Flourless Black Forest Chocolate Cake), in pies and even tarts. If you were to buy them at a store, 2-3 cups of preserved cherries will cost you about 7$ – 8$, but canning them yourself will cost you about 2$ for the same amount, so not only are you saving money, but you’re also making sure that your canned goods are artificial preservative free.
Some people are intimidated by the canning process, but it isn’t complicated, as the step-by-step photo instructions below show.
Canned Cherry Ingredients:
For every 1-quart jar:
- 4 cups Pitted Tart Cherries
- 1 cup of sugar
Equipment (affiliate links below):
- Large enough pot to fit a couple of 1-quart jars or this Canning Pot
- 1-quart glass jars & lids – or
- Plastic or Stainless Steel Funnel to help you fill the jars with cherries
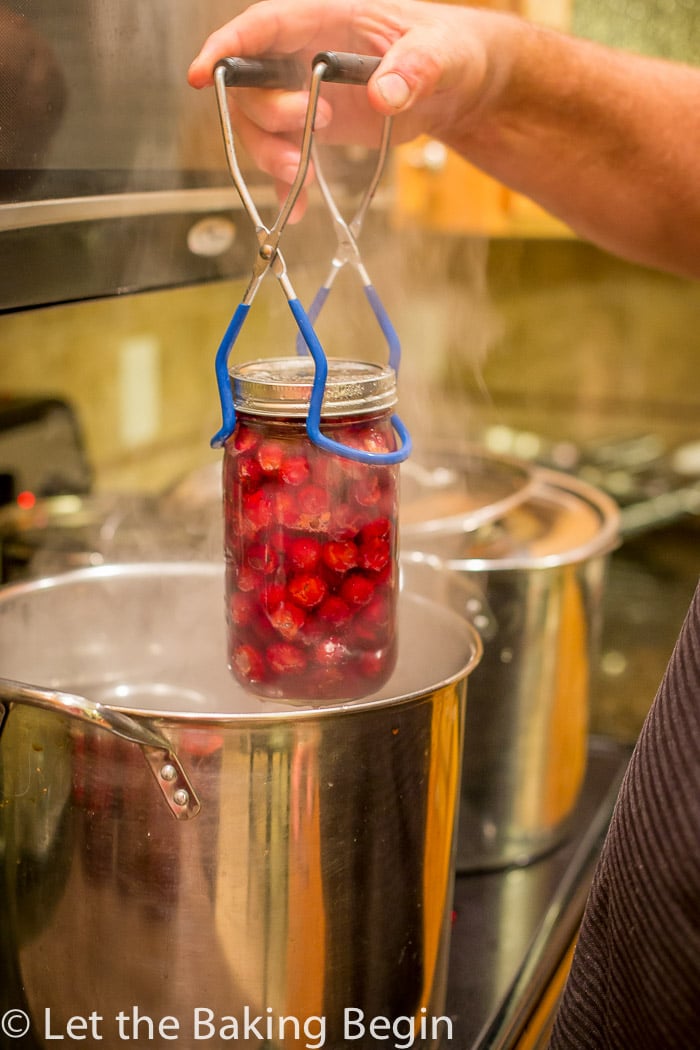
- Jar Lifter to remove the hot jars out of the water bath
- Water Bath Canner –
- Or this complete canning kit
- Cherry Pitter or a large Safety Pin
How to can tart cherries, step-by-step:
- Thoroughly wash the cherries by filling a large bowl with water, then add the cherries and swish them around. The dirt will settle to the bottom of the bowl. Pick the cherries out of the water to a different bowl. Then, repeat the washing and remove them to bowl.
- Remove the pits from the cherries.
- Pour sugar over the cherries, about 1 cup for every 4 cups of cherries. Mix the cherries and sugar to distribute the sugar evenly.
- Cover and refrigerate for 12 to 48 hours. Stir the cherries every once in a while to help the juices release.

Prepare the jars for canning:
- Wash the jars and lids with hot, soapy water or run them through a dishwasher cycle.
- Set the cleaned jars and lids on a clean kitchen towel.

Fill the Jars
- Set the clean jar on a plate, and fill it with the cherries using a funnel to help prevent dripping.

Leave about 1 1/2 inches head space in each jar.

Close the jar with a lid, but do not tighten. Now put a clean kitchen towel on the bottom of a large pot (you do not need to do this if you’re using the canning pot with a rack). Put the jars inside the pot and fill the pot with enough water to come up 2/3 up to the lid. Close the pot with a lid and cook until the cherry mixture inside the jars starts to boil. It will take a while so be patient. Cook for about 5-10 minutes from the time the mixture inside the jars starts to boil. You will know that it’s boiling when you see bubbles coming from the bottom of the jar towards the top.

Just remove the jar from time to time and look for the bubbles.
Once the cherries have cooked, remove the jars to a kitchen towel lined counter, tighten then lids and let them cool completely. You will know if the lids have created a seal when the top of the lids have been sucked inside and when you press on the top of each lid, no popping sound is heard.

At this point you’re done, but I usually unscrew the outer ring and wash the jar (with the top being completely sealed to the jar) before I store it away.

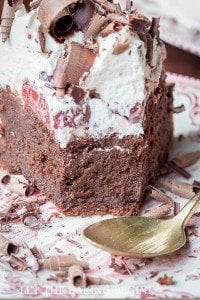
Try these Cherry Desserts:
- Honeycomb Cherry Cake – Puff pastries filled with cherries, in a sour cream frosting.
- Cherry Chocolate Pavlova Recipe – The best meringue recipe with cherries.
- Cherry Galette – Simple cherry pies with whipped cream and almond flakes.
Now go ahead and share what YOU think these cherries would be good in!
Marina | Let the Baking Begin


I love this easy way of cold packing and then heating. Thanks! Question, if I already have the pitted sour cherries in a lot of juice, should I still add sugar? (I buy a 10 lb bucket of organic pitted sour cherries in their juice every single summer from a local farm. I usually make sour cherry jam or can a few quarts of pie filling. Would love to just can the cherries and their juice this year but don’t know if I should add sugar.)
Hi Dana,
are you sure there’s no sugar at all added to the cherries? Typically when they sell them in buckets like that they add a little bit of sugar to let the cherries release their juice, otherwise the cherries won’t have that much juice. In which case, you can just cold pack them the way you see described in this recipe.
I am 78 yrs old and I love to Bake.
I buy my fruits and vegetables fresh from the Farmers.
I like to can anfd freeze them.
I appreciate good recipes.
I don’t have much money so if I can get the recipes free. Thank you. Lou T
When you use thes canned cherries to make a pie, do you put corn starch in it or does the juice create enough of a syrup from the canning process?
Hi Tricia,
When I make a pie I do add a tablespoon or two of cornstarch to the drained cherries to thicken the liquid that will form in the pie. The syrup in the cherries (when they’re canned) is very thin, since there’s definitely not enough sugar to make it thick.
Thanks for your question!
Thank you for the reply! Can’t wait to try these! It is almost cherry season here in Michigan! I’m excited!
Why cold pack and then boil, rather then bring to boil and hot pack? I like the idea of letting the cherries juice, rather then making a syrup and filling with that. Just wondering if it’s a trade of of one less dish, but a bit more time to fill the jars, or if there’s an advantage I am not aware of. As hot as it is, I’d rather wash more dishes and have the water bath boiling for a shorter time!
There’s not really a good reason for it, either way it will work. It’s just a matter of personal preference.
The only reason why I did it this way is because when you fill jars with hot liquid, there’s a risk of the jars cracking, so you need to use measures to prevent that. Also, for me pouring cold stuff into the jars decreases the chance of burns.
That makes sense. Just wanted to be sure there wasn’t something science-y that I was missing!
Thank you for this simple tutorial. We’re cherry picking today. I can’t wait to can our haul!
I wanna see your haul Jennifer!
how long do they last on the shelf?before they go bad.
They won’t turn moldy or anything, but I think it is recommended to use them within a year of canning, since they have acid and it tends to start eating away at the lid (metal).
You must cover the jars with the water in the canner and bring water up to boil then process for approved processing time. Then leave in cancer five minutes with lid and heat off. Then remove and they will seal.
I agree that tart Cherries are wonderful
Марина! Доченька твоя така украиночка настоящая helper!!thank you for sharing the tip.God bless.
Thank you Lena 😀