
Chocolate Sponge Cake
Chocolate sponge cake is a light, airy cocoa sponge that splits into even layers for any chocolate layer cake. It bakes up level on top, so I never waste any cake trimming off a dome.
For a vanilla layer, use my simple sponge cake or my biskvit, made with just three ingredients.
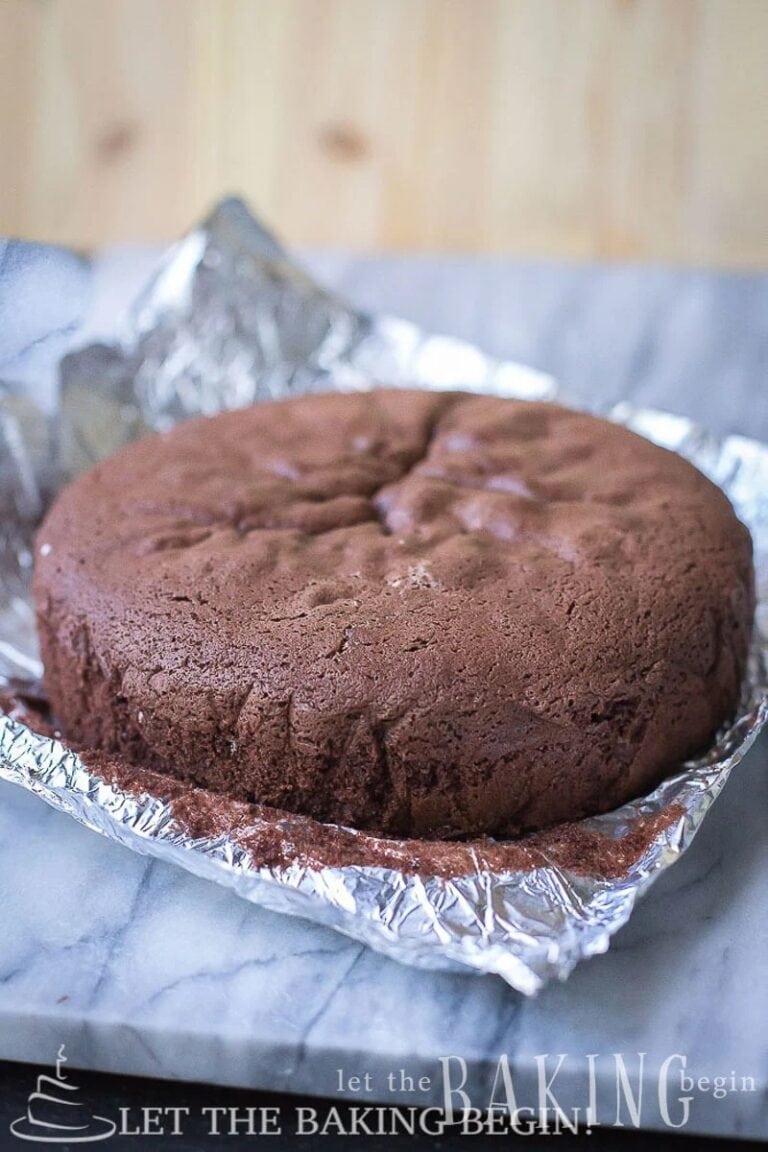
Chocolate Sponge Cake Recipe
Sponge cake is the recipe readers ask me about most. A classic sponge is only eggs, sugar and flour, and it can fall if the eggs aren’t whipped just right. My chocolate sponge keeps the whipped eggs and adds a little baking powder for a steady rise and melted butter to keep it moist.
Why you’ll Love this Chocolate Sponge Cake
This is the chocolate sponge in my layer cakes.
- Chocolatey but light – it tastes like cocoa in every bite but stays soft and springy, so it never feels heavy under cream or buttercream.
- Bakes up level – the top comes out flat, so there’s nothing to cut off before you stack the layers.
- Seven pantry ingredients – nothing to special-order, just cocoa, flour, sugar, eggs, butter, baking powder and salt.
- Freezes for a month – the plain sponge keeps in the freezer for up to a month, so a layer cake can start weeks ahead.
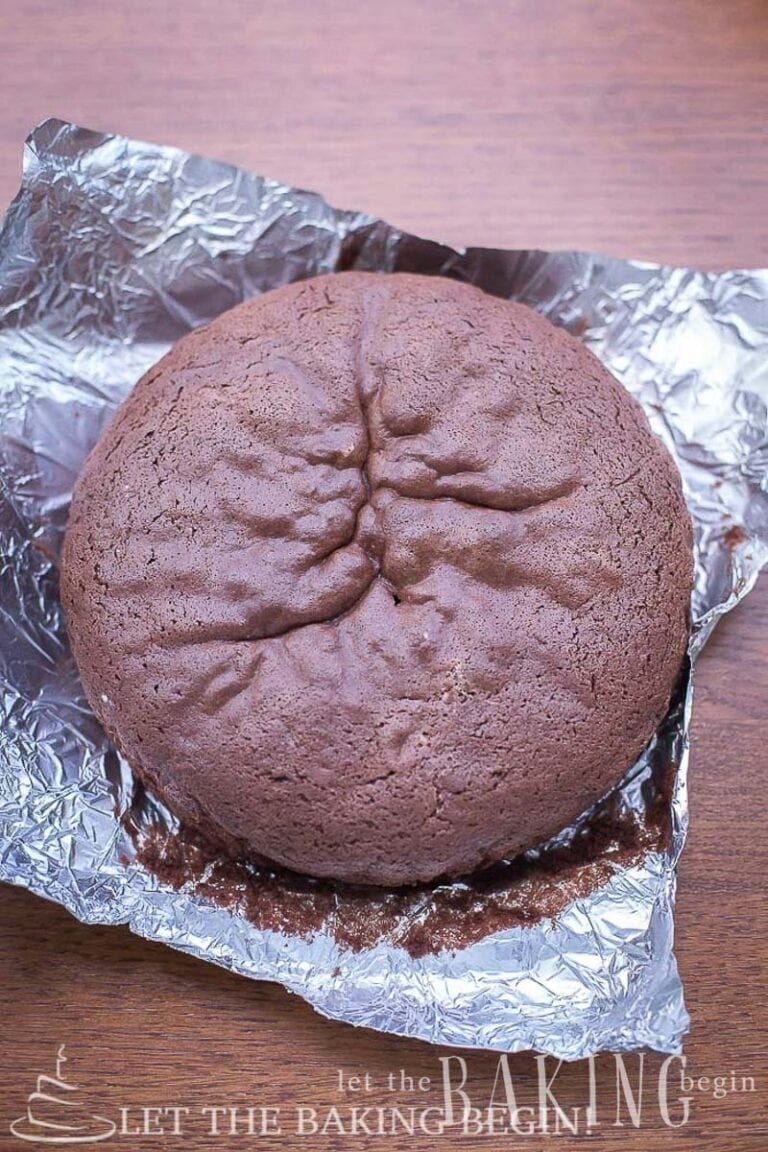
What Is a Chocolate Sponge Cake?
A chocolate sponge cake is a cake that rises mostly on whipped eggs. Whole eggs and sugar are whipped until thick and pale, then cocoa and flour are folded in by hand. It’s close to a chocolate genoise, the French whole-egg sponge with a little melted butter.
In the UK, “chocolate sponge” often means a buttery creamed cake. This one is the whipped kind, with a soft, even crumb that holds a syrup and stays tender in my Chocolate Kiev Cake, Drunken Cherry Cake and Prague Cake.
Ingredients for Chocolate Sponge Cake
The eggs and the cocoa matter most here, and the rest is pantry staples. Amounts are in the recipe card at the bottom.
Chocolate Sponge Cake Batter
- Eggs: large, at room temperature. Whipped with the sugar, they trap the air that lifts the whole cake, and warm eggs whip up taller than cold ones.
- Kosher salt: just a pinch. It makes the cocoa taste more chocolatey. I use Morton.
- Granulated sugar: plain white sugar. Once it melts into the eggs, it holds the foam steady, so the batter doesn’t fall when the flour goes in. Superfine melts in even faster.
- Butter: unsalted. Folded in melted, it keeps the chocolate sponge moist, because cocoa tends to dry a cake out.
Dry Ingredients for the Chocolate Sponge
- All-purpose flour: regular flour is all this cake needs to hold its shape. Cake flour bakes a slightly softer crumb if you have it.
- Cocoa powder: unsweetened, natural or Dutch-process. Baking powder handles the rise here, so either kind bakes up the same, and Dutch-process just looks darker.
- Baking powder: check the date on the can. It backs up the whipped eggs, so the cake still rises even if some air escapes during folding.
How to Make Chocolate Sponge Cake
Step-by-step, with photos. Most of the work is whipping the eggs, so get the pan and the dry mix ready first.
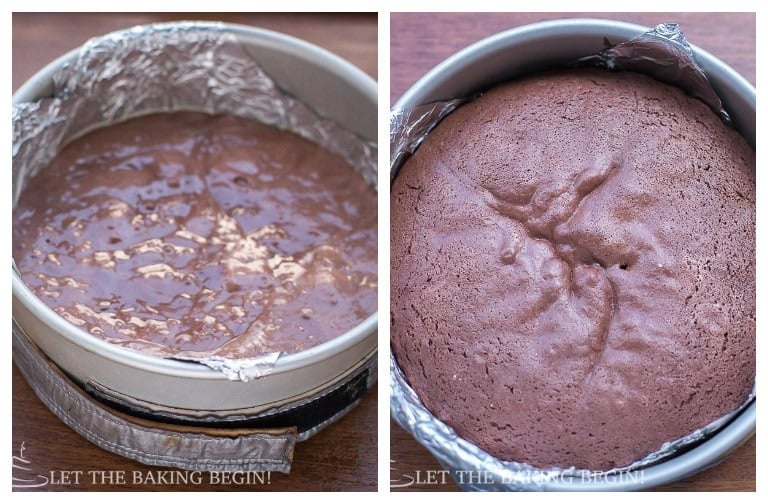
- Prep the pan – heat the oven to 350°F (175°C) with a rack in the center. Line the bottom of an 8-inch round cake pan, at least 2 inches tall, with a parchment round. Leave the sides bare. The batter grips them and climbs as it bakes, so the sponge rises tall instead of sinking. Then wet the cake strips, wring them out and fasten them around the outside of the pan. The damp strips slow down the edges, so the middle catches up and the top bakes flat.
No cake strips?
Fold a kitchen towel into a long strip, wet it, wrap it around the pan and pin the ends with a safety pin. Or skip it and slice the small dome off the top before you stack the cake.Can I bake two thin layers instead?
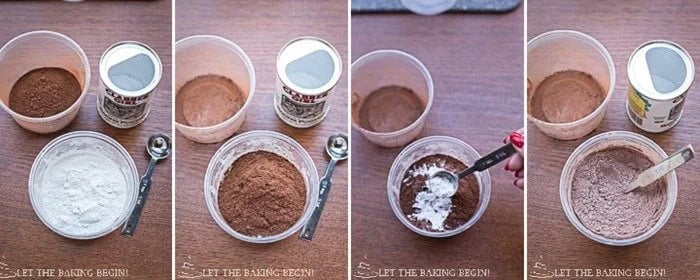
Yes. Divide the batter between two 8-inch pans and bake both at once, and you get two 1-inch layers that need no cutting. Thin layers bake faster, so start checking early and go by the toothpick. - Sift the dry ingredients – run the flour, cocoa and baking powder through a fine-mesh sieve together and set the bowl aside. Cocoa is lumpy, and lumps need extra folding later.
- Melt the butter – let it cool to warm, about 100°F (38°C), like warm bath water. Hot butter knocks the air out of the eggs, so don’t add it straight off the stove.
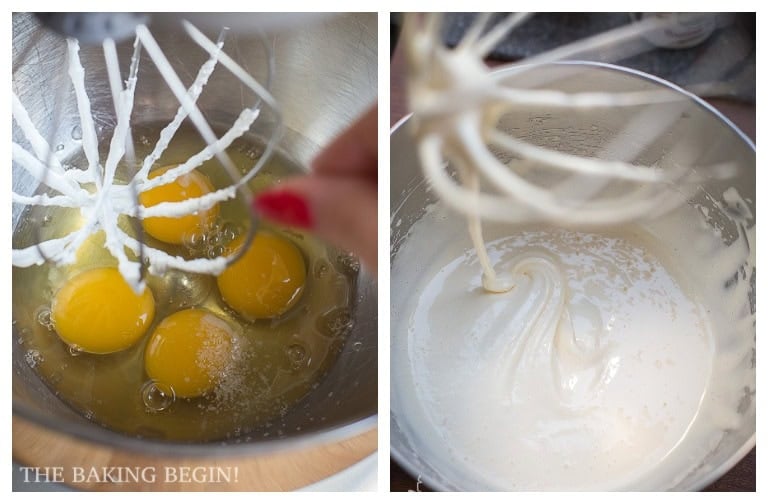
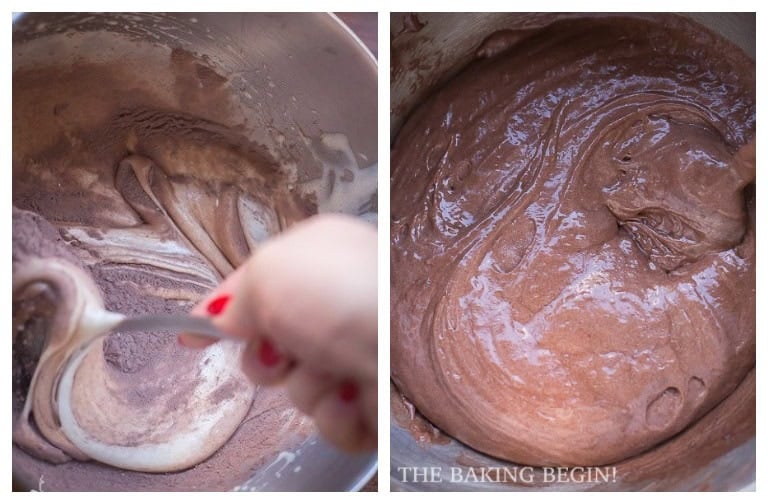
- Whip the eggs and sugar – put the eggs and salt in a stand mixer fitted with the whip attachment and whip on high until foamy. Pour in the sugar slowly while it runs, then whip until the mixture is pale, thick and about three times bigger, roughly 15 minutes. Don’t stop early. When you lift the whip, the batter should drip back in a ribbon that holds its shape for about 3 seconds.
What happens if I stop whipping too soon?
The eggs can’t hold up the cocoa and flour, and the cake bakes short and dense. If the ribbon sinks right away, give it a few more minutes.Will a hand mixer work?
It will, it just needs more time. Go by the thick ribbon and the volume, not the clock.
- Fold in the cocoa mix – sprinkle half of it over the eggs and fold with a wide spatula, cutting through the center and lifting from the bottom while you turn the bowl. Add the second half the same way. Stop as soon as the streaks are gone, because every extra stroke pops more air.
Why did my batter turn thin and runny?
The whipped eggs lost their air. Most likely they were under-whipped, or the folding went on too long. A good batter is thick and falls off the spatula in soft folds. - Fold in the butter – drizzle the warm butter along the edge of the bowl and fold just until you can’t see it. Poured into the center, it sinks and takes more strokes to mix in.
- Fill the pan – pour in the batter, then swirl the pan back and forth a couple of times to even it out.
- Bake at 350°F (175°C) – set the pan on the middle rack and bake until the top springs back when you press it lightly, OR until a toothpick in the center comes out clean. Mine takes about 25 minutes. Keep the oven door shut for the first 15 minutes, and close it gently when you check, so the middle doesn’t fall.
Why did my sponge sink in the middle?
Most of the time the middle needed a few more minutes, or the oven door was opened too soon. Next time, bake until the toothpick in the very middle comes out clean. - Cool and release – give the cake 5 minutes in the pan. Slide a thin knife along the inside edge, flip it onto a cooling rack, peel off the parchment and let it cool completely before cutting.
How to Split a Chocolate Sponge Cake Into Layers
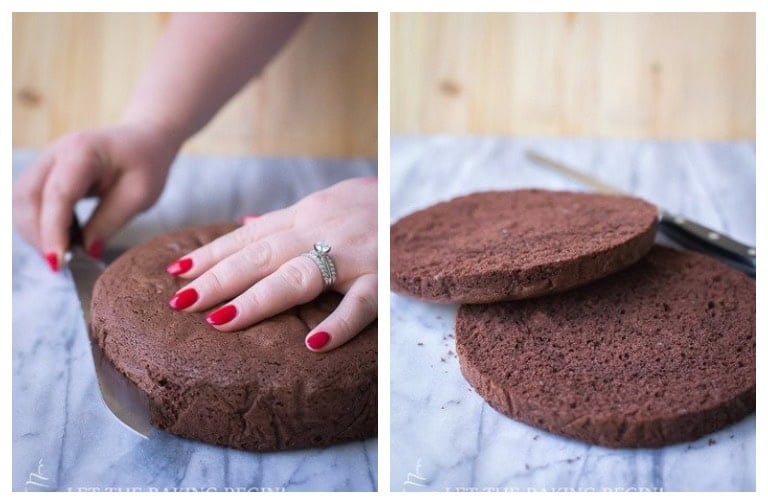
One 2-inch sponge makes two even 1-inch layers.
With a cake slicer: set a cake slicer to the height you want, or clip cake leveling clips onto a long bread knife, and saw straight across while the guides rest on the counter.
By hand: rest the palm of your free hand on top of the cake. Score all the way around the side, halfway up and about ½ inch deep, turning the cake as you go. Keep turning and cutting deeper until the two layers come apart. I show this trick in a short cake splitting video on my YouTube channel.
Marina’s Pro Tips for theBest Chocolate Sponge Cake

- Warm cold eggs in tap water. Leave them in a bowl of warm tap water for 10 minutes. Room-temperature eggs whip up noticeably taller.
- Open the oven only after it smells like chocolate. The smell starts once the outer edge begins to bake, while the middle is still soft. If you just started smelling it, give it a few more minutes before you look.
- Brush the layers with syrup when you build a cake. A plain sponge is made to soak up syrup, and a light brush keeps every slice soft and moist.
- Trim the baking powder when you double the recipe. Keep the first batch worth in full and add only three quarters of it for the second, or the cake rises more than it should.
How to Use Chocolate Sponge Cake
Split it into layers and fill it with whatever you love.
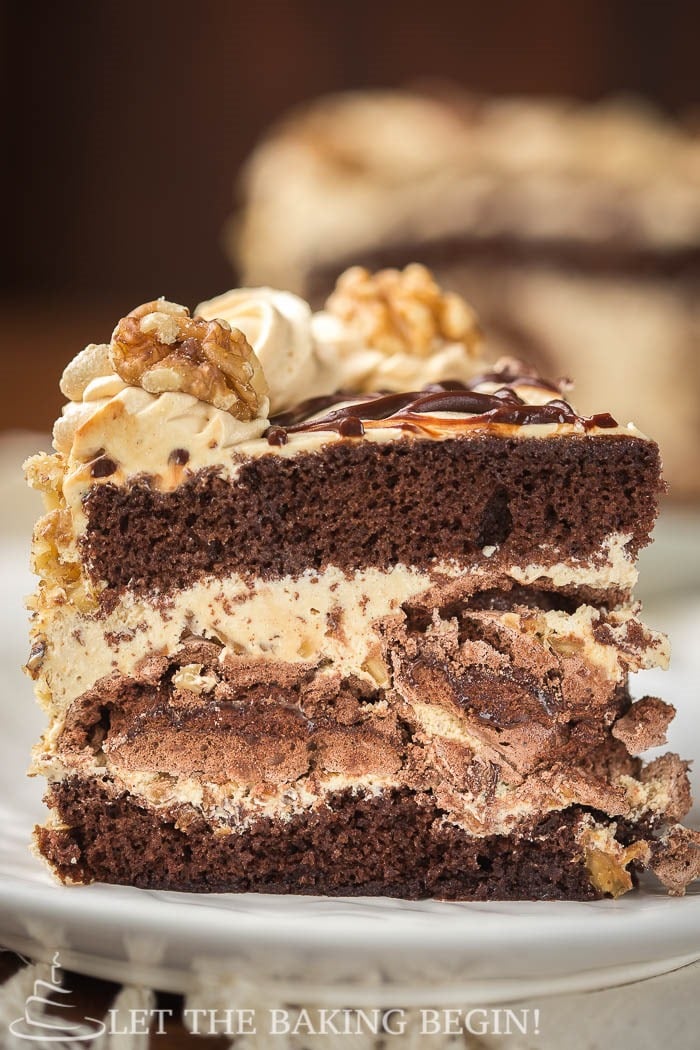
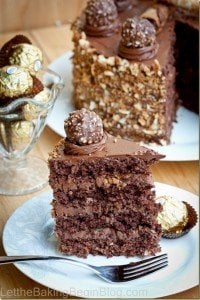
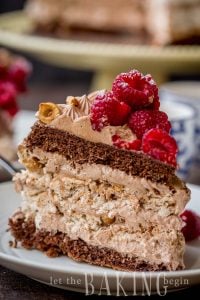
- Layer cakes – my Chocolate Kiev Cake stacks it with walnut meringue and dulce de leche buttercream, and my Prague Cake fills it with chocolate custard buttercream.
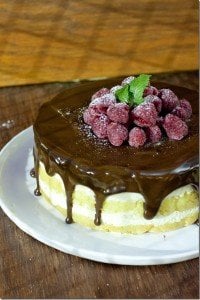
- Fruit and cream – it soaks up the cherry syrup in my Drunken Cherry Cake and pairs with prunes and walnuts in my Chocolate Prune Cake.
- Frostings – Russian buttercream, Nutella custard buttercream or a sour cream frosting all go well with it.
- Holiday baking – you’ll find it under several of the desserts on my Christmas dinner menu. For a rolled cake, my Yule Log uses a thin sponge made for rolling.
- Trimmings – turn the crumbs into Kartoshka rum balls.
Make-Ahead Chocolate Sponge Cake
Bake the chocolate sponge a day or two before you build your cake. Wrapped tightly, it stays soft at room temperature, and a cake project splits nicely into two easier days.
How to Store Chocolate Sponge Cake
Room temperature: wrap the cooled sponge in plastic wrap and keep it for up to 2 days.
Freezer: double-wrap it, plastic first and foil on top, for up to 1 month. Thaw it in its wrap on the counter, so the moisture goes back into the cake.
If your chocolate sponge came out flat, dry or short, start here.
Chocolate Sponge Cake FAQ
Why Is My Chocolate Sponge Cake Dense?
The eggs lost their air. The whipped eggs lost their air. They need to triple and fall in a thick ribbon, and the cocoa mix needs a light hand. Hot butter can deflate them too.
Why Is My Chocolate Sponge Cake Dry?
Cocoa soaks up moisture, so an overbaked chocolate sponge dries out fast. Pull it as soon as the toothpick comes out clean. For layer cakes, brush each layer with a light syrup before you fill it.
Can I Make a Taller Chocolate Sponge Cake?
Yes. Double the recipe and bake it in one 8×3-inch pan, filled about three-quarters full. It bakes up level with the rim, but a little denser than the same batter split between two pans. Trim the baking powder when you double it, as the recipe card notes explain.
Should I Use Natural or Dutch-Process Cocoa?
Either one works. Natural cocoa gives a lighter brown cake, and Dutch-process cocoa bakes darker with a milder taste. Just make sure it’s unsweetened, not hot cocoa mix.
Do I Need to Grease the Sides of the Cake Pan?
No. Parchment on the bottom is enough. Ungreased sides give the rising batter something to hold on to, and a thin knife frees the cake once it’s baked.
More Chocolate Layer Cakes to Try
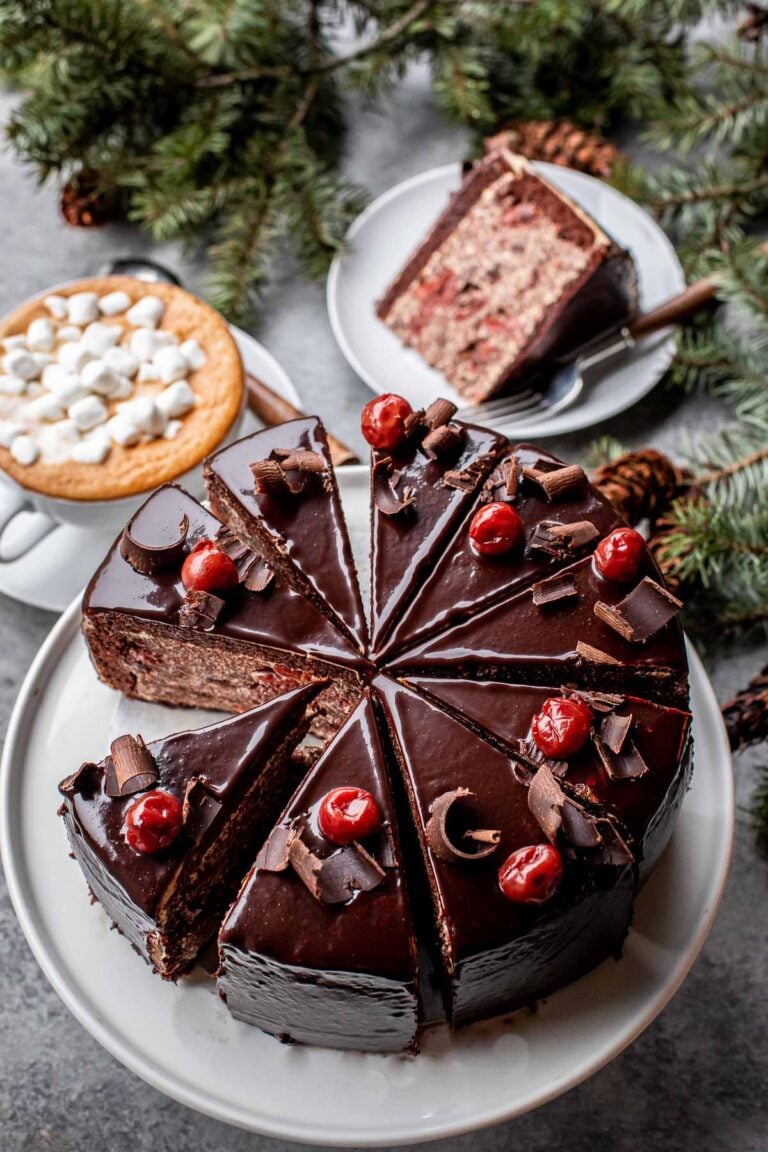
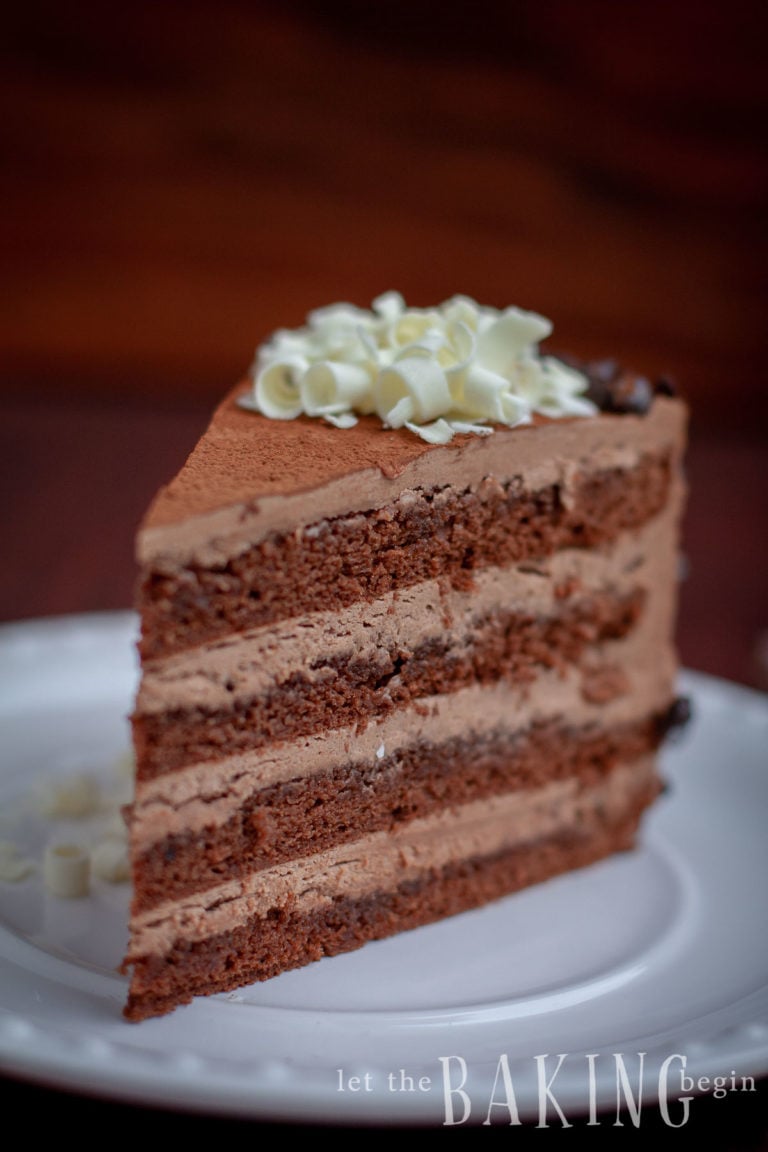
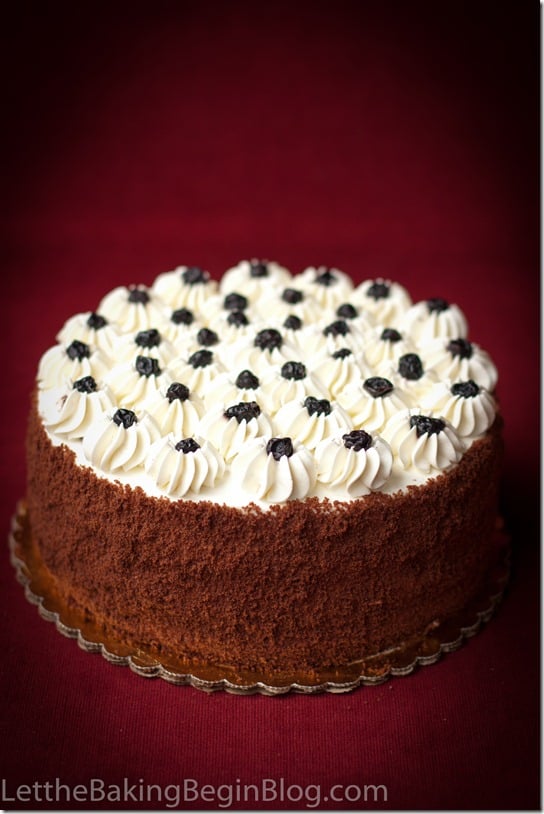
Made this Chocolate Sponge Cake?
Please leave a ⭐⭐⭐⭐⭐ star rating and a comment below.
It helps other readers find it, and I love reading every single one.
Chocolate Sponge Cake
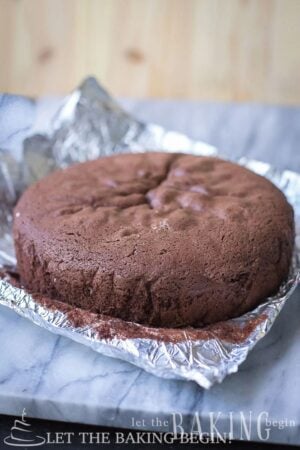
Chocolate sponge cake that's light, airy and bakes up level for any chocolate layer cake. Step-by-step photos and tips for a tall, moist sponge.
Ingredients
Chocolate Sponge Cake Batter
- 4 large eggs Room temperature
- ⅛ tsp kosher salt Morton
- ¾ cup (150 g) granulated sugar
- 2 Tbsp (28 g) unsalted butter Melted and cooled to warm (Note 1)
Dry Ingredients for the Chocolate Sponge
- ¾ cup (113 g) all-purpose flour 1 cup = 150 g (Note 2)
- ¼ cup (21 g) unsweetened cocoa powder Natural or Dutch-process
- 1½ tsp baking powder (Note 3)
Instructions
How to Make Chocolate Sponge Cake
-
Prep the pan. Heat the oven to 350°F (175°C) with a rack in the center. Line the bottom of an 8-inch round cake pan, at least 2 inches tall, with parchment. Leave the sides bare. Wrap soaked, squeezed-out cake strips around the outside of the pan (Note 4, Note 5).
-
Mix the dry ingredients. Sift ¾ cup all-purpose flour, ¼ cup unsweetened cocoa powder and 1½ tsp baking powder together and set aside.
-
Melt the butter. Melt 2 Tbsp unsalted butter and let it cool to warm, about 100°F (38°C).
-
Whip the eggs. In a stand mixer fitted with the whip attachment, whip 4 large eggs and ⅛ tsp kosher salt on high until foamy. Add ¾ cup granulated sugar a spoonful at a time, then keep whipping until pale, thick and tripled, about 15 minutes. It should fall from the whip in a ribbon that holds for about 3 seconds. Don't stop early.
-
Fold in the dry mix. Add the dry ingredients in two halves, folding gently with a wide spatula just until no streaks are left. Don't overmix.
-
Fold in the butter. Pour the warm butter down the side of the bowl and fold just until blended.
-
Pour the batter. Pour it into the prepared pan and swirl the pan back and forth a couple of times to level it.
-
Bake at 350°F (175°C). Bake on the middle rack until the top springs back when pressed, OR until a toothpick in the center comes out clean. Mine takes about 25 minutes. Keep the door shut for the first 15 minutes, and close it gently when you check.
-
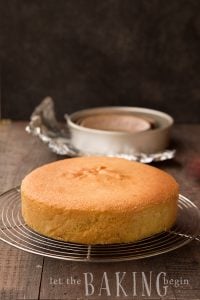
Cool and release. Cool in the pan for 5 minutes. Run a thin knife around the edge, turn the cake out onto a cooling rack, peel off the parchment and let it cool completely.
How to Split a Chocolate Sponge Cake Into Layers
-
Split the layers. Rest one hand flat on top of the cooled cake. Score all the way around the side, halfway up and about ½ inch deep, turning the cake as you go. Keep turning and cutting deeper until the two layers come apart. A cake slicer or leveling clips keep the cut even.
Recipe Notes
1. Butter: cool the melted butter to warm, about 100°F (38°C), like warm bath water. Hot butter knocks the air out of the whipped eggs.
2. Measuring flour: 1 cup = 150 g. Weigh it if you have a scale.
3. Scaling the baking powder: changing the servings multiplies every amount straight across. Keep the first batch of baking powder in full and add only ¾ of it for each extra batch, so 1½ tsp becomes 2⅝ tsp when you double the recipe, not 3 tsp.
4. Cake strips: soak cake strips in water, squeeze them out and wrap them around the outside of the pan. They keep the edges from baking faster than the middle, so the top bakes flat. No strips? Pin a damp strip of kitchen towel around the pan, or trim the dome with a serrated knife.
5. Pans: one 8x2-inch pan gives a 2-inch cake to split into two layers. Two 8-inch pans give two 1-inch layers with no splitting; bake them at the same time and start checking early. For a taller cake, double the recipe in an 8x3-inch pan, about ¾ full. It bakes a little denser than two pans.
6. Make ahead: bake the sponge a day or two before you build your cake, wrapped tightly at room temperature.
7. Storage: wrapped, the plain sponge keeps 2 days at room temperature or up to 1 month in the freezer. Thaw it in its wrap.

Thank you for following me on Instagram, Facebook & Pinterest!
Hashtag your photos #LetTheBakingBeginBlog so I can see your creations and for a chance to be featured!
This chocolate sponge cake first went up in 2015, and it has more than 100 reader ratings. In October 2026 I updated the post with tips under each step, a pan method that leaves the sides bare, help splitting the layers, make-ahead and storage notes, an FAQ, and a recipe card with metric amounts.
Marina | Let the Baking Begin














For the 95% of the population not living in the US, please provide all measurements in metric in addition to the imperfect imperial measurements. Measuring volume and mass accurately will help ensure accuracy and consistency.
Hi Tony!
You’ll find the toggle at the bottom of the ingredient list that you can switch between metric and imperial measurements.
How much butter to put into the mixture. You say to put two tablespoons spoons of butter in the flour mixture. Bit how much to add to the eggs and flour. You don’t say how much
You’ll find the detailed recipe at the bottom of the page, and there you’ll find the ingredient amounts. The eggs are whipped with sugar, then flour and baking powder is mixed in, and only then the butter is folded in.
Turned out perfect. Second time I added small chopped chocolate pieces and was delicious.
Nope… avoid.
Not enough batter for 2 1-inch cakes and the bake time is too long for what ends up being a fat cookie. Or temperature is too high. Left it for 20 minutes and came to see 2 burning flat cakes. MAYBE if you’re making a single cake, it would work in one 8-inch pan. Otherwise, you’re not even looking at enough batter to get it to the edges of 2 pans.
Sir German….Then just double the recipe. Made this cake three different times and it’s perfect and delicious.
I haven’t yet made it but is very excited to, quick question.
Van you use this recipe for cupcakes as well?
First time on this page,and already noticed that it’s very interesting…
Going to try the Chocolate Kiev Cake ….Will write back about this recipe.
Thanks and keep it up
Hi! I was wondering if this is a good sponge for “number cakes?” Will this recipe be okay baking in 13×9 inch pan? (Beginner here!) thank you!!
I’m a big fan of this recipe! I was curious if it’s possible to make the cake have that deeper chocolate taste? I typically like American chocolate cakes but they are too heavy so I can only eat a little bit. I really like your recipe and could eat a lot more but would love a way to give it that deeper chocolate taste without making it taste too heavy.